

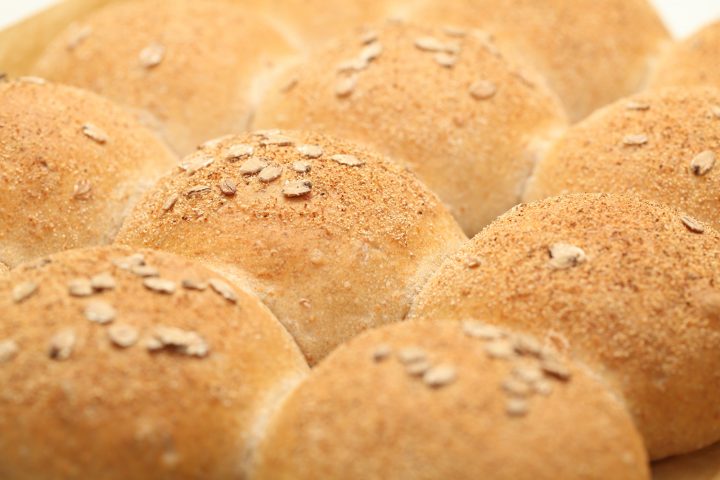
These buns are the perfect balance between light and airy and full of fiber. The crumb has such a nice bite and the taste is interesting on its own, slightly nutty with a hint of natural sweetness. The recipe is straightforward and can be made in one day. All the spelt and oats go into the poolish / preferment and it makes this wonderful thick… [Read More...]
Main Content
Highlights
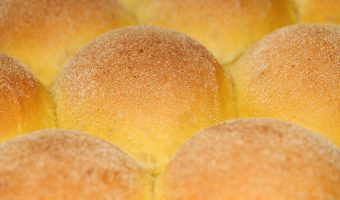
Fluffy ‘overnight’ buns with pumpkin
‘Tis the season to use pumpkin! Hope you like these fluffy buns with added pumpkin, olive oil and a bit of honey. This partly overnight method, with the smaller amount of yeast, the added vitamin C and slightly longer final proofing, gives the buns its lovely extra fluffy texture. [Read More...]
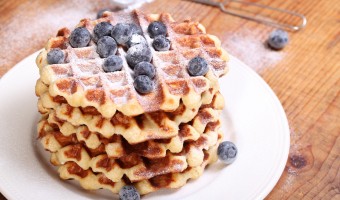
The waffle project
A slight diversion from bread baking. After a quick visit to Belgium over the New Year, lured in by the delicious smell of waffles several times, we could not help but go on a quest again and make our own. Fresh from… [Read More...]
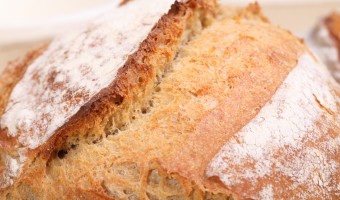
Our version of Tartine style bread
The last few months we have been making quite a lot of these loaves. We made them with tiny variations and alterations, experimenting with flour, water, times and temperature and above all quantities. We even developed a hybrid version for the baker in a bit of a hurry. [Read More...]
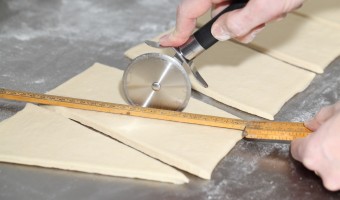
Video: Making & Baking Classic French Croissants
This video shows us making classic French style croissants, largely following recipe by Jeffrey Hamelman.
It also contains a time lapsed oven shot of the baking of the croissants! [Read More...]
Sweet baking
Christmas Blondies
I did not find blondies that interesting compared to brownies. Just before last Christmas I thought of a combination that turned out so well, it is now already a favorite… [Read More...]

Our easy homemade (salty) caramel sauce
It goes with (almost) anything! Make a jar and be happy! [Read More...]

Making your own Marzipan
With good ingredients you make yourself the most delicious marzipan. The best tip I can give you is to grind the almonds with the icing sugar, because… [Read More...]
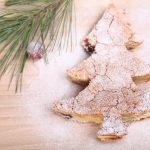
Holiday baking: Stollen bollen!
Also great for Easter of course! Secretly sorry Christmas is over so soon? Well I am, because I so love to bake my stollen! That is why I came up with these ‘stollen bollen’. They are a deluxe version of our much loved raisin buns with a lovely… [Read More...]


